Spider Plant Care: Light, Watering, Soil, and Brown Tips
Healthy spider plant care is less about a fixed calendar and more about reading light, pot weight, soil, roots, and new plantlets together. This indoor guide explains how to keep Chlorophytum comosum growing steadily without overwatering.
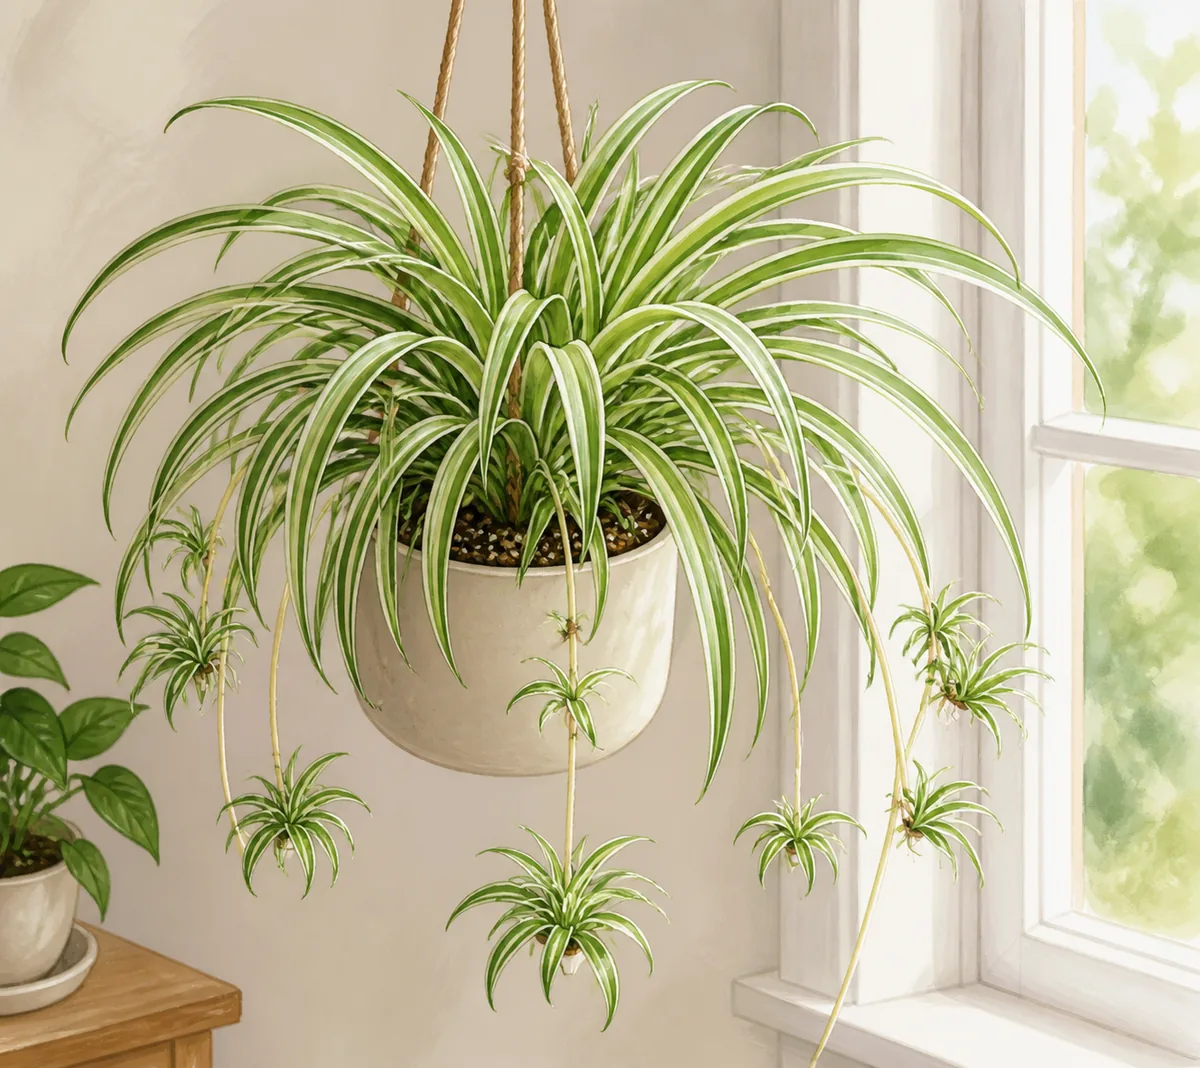
Spider plant care at a glance
For reliable spider plant care indoors, give Chlorophytum comosum bright indirect light, a loose potting mix, and a container with a drainage hole. Water thoroughly when the upper part of the mix has begun to dry, then let the pot drain rather than leaving it in a saucer of water. Brown tips often follow dry air, inconsistent watering, salt buildup, or strong sun, so check the whole growing setup before cutting leaves or adding fertilizer. Feed lightly during active growth and prune damaged tips or old plantlets with clean scissors.
Indoor spider plant care checklist
Treat the leaves, roots, pot, and room as one system. The same watering routine can be too wet in a dim room and too dry beside a warm, bright window.
Light and placement
Look for
Pale stripes, slow growth, and weak new leaves can follow low light. Bleached patches or crisp areas may follow strong direct afternoon sun through glass.
First action
Choose bright filtered light near an east window or behind a sheer curtain. Keep the leaves away from hot glass and rotate the pot occasionally for even growth.
Water and drainage
Look for
A lighter pot and a dry upper layer suggest watering may be due. Persistent wetness, fungus gnats, sour odor, yellow leaves, or soft roots suggest the mix is staying too wet.
First action
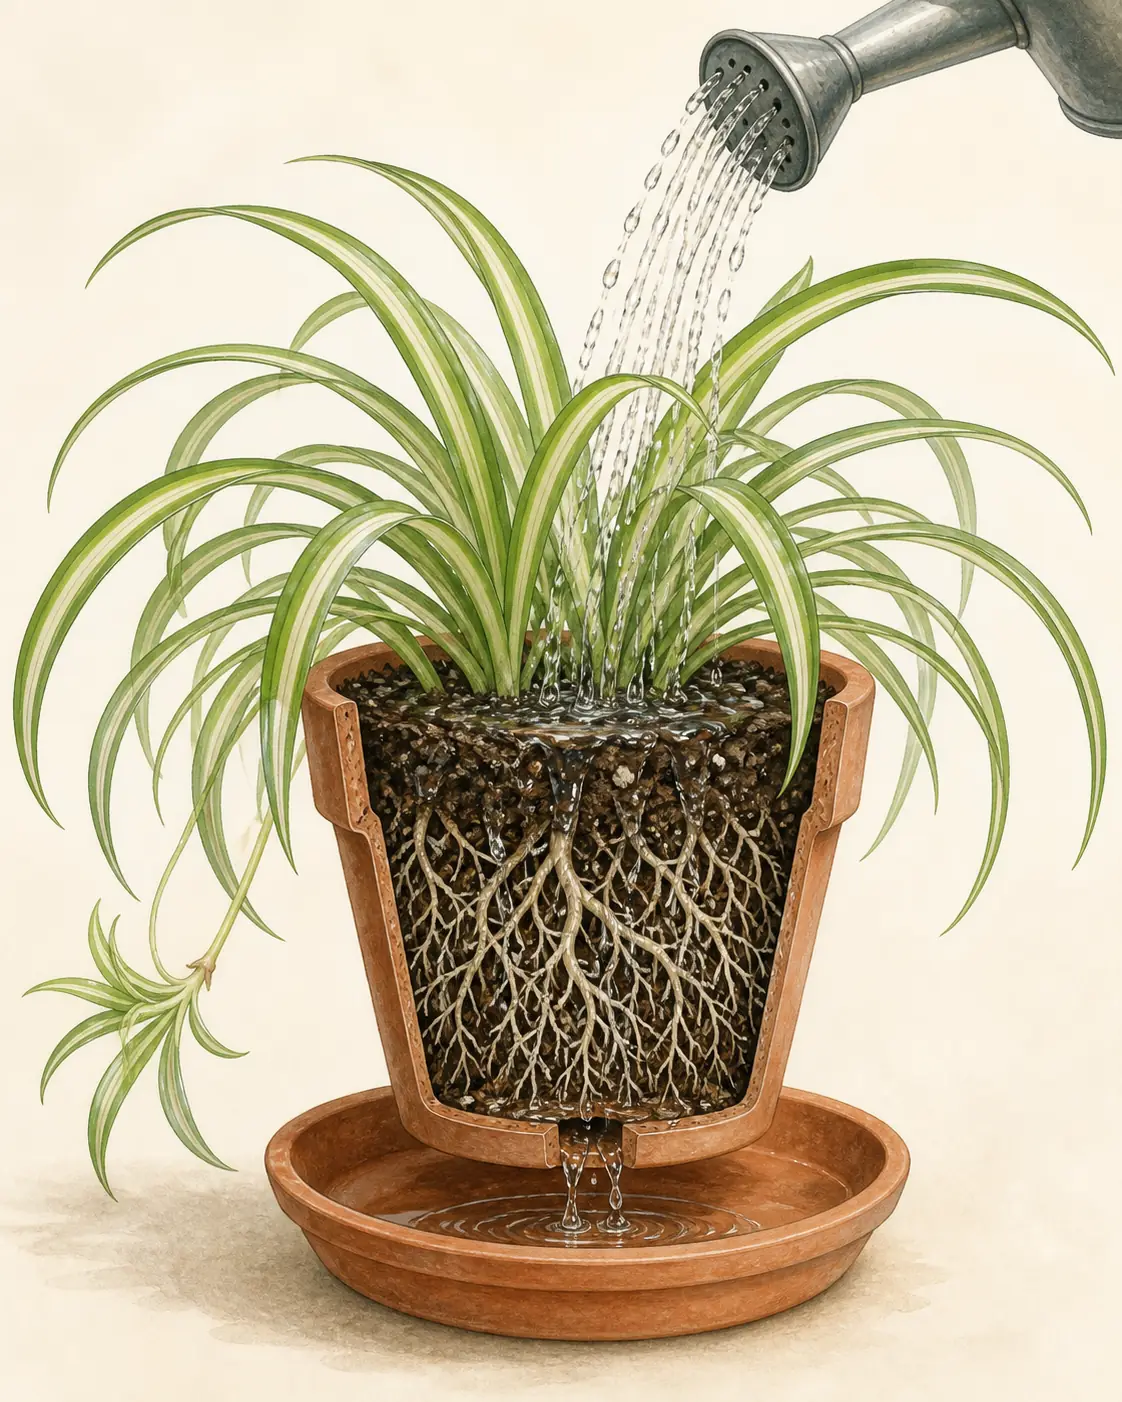
Check below the surface, water the root ball evenly, allow excess water to leave the drainage hole, and empty the saucer. Do not use small daily sips as a substitute for a complete watering.
Soil and pot size
Look for
Compacted soil, water running around a dry root ball, or a pot that remains wet for many days makes spider plant care unpredictable.
First action
Use a loose houseplant mix with air spaces and some moisture retention. Choose a pot only slightly larger than the root ball and always use a drainage hole.
Temperature and humidity
Look for
Curling, drooping, or brown edges can become worse near heaters, air conditioners, cold windows, or sudden room changes. Very dry air can make leaf tips crisp.
First action
Keep the plant in a stable room away from vents and cold drafts. A humidifier can help in very dry air, but it cannot replace good drainage or consistent watering.
Feeding and salt buildup
Look for
Brown tips, a white crust on the soil, or weak growth can follow concentrated fertilizer or mineral buildup, while low light can look like a fertilizer problem.
First action
Feed at diluted strength during active growth. If salts collect, flush the mix with clean water and let it drain fully, then wait before feeding again.
Plantlets and pruning
Look for
Healthy spider plants may send out long stems with baby plantlets. A crowded pot, damaged leaves, or very low light can reduce new offsets.
First action
Trim only dead or badly damaged leaves with clean scissors. Leave healthy plantlets attached until they have visible roots, or use them for propagation when the mother plant is growing well.
A 7-step spider plant care routine
Use this order for a new plant or one with brown tips, yellow leaves, or slow growth. Stabilize the environment before changing several variables at once.
-
Confirm the plant
Spider plant, ribbon plant, spider ivy, and Chlorophytum comosum are common names for the same familiar houseplant, but spiderwort and other strappy plants can look similar in a cropped photo. Photograph the whole habit, leaf stripes, roots, pot, and any plantlets before applying specific care advice.
-
Set the light first
Place the pot in bright indirect or filtered light for much of the day. Low light slows water use and plantlet production, while strong direct midday sun can bleach or scorch the leaves. Move the plant gradually instead of shifting it repeatedly.
-
Test moisture below the surface
Touch the upper layer, use a plain wooden stick, and lift the pot to learn its lighter dry weight. Spider plants prefer a short drying period between thorough waterings, but the root zone should not stay bone dry for long or remain saturated.
-
Water thoroughly and drain
Pour slowly around the soil until the root ball is evenly wet, then wait for water to leave the drainage hole. Empty a saucer or decorative cachepot. Small daily sips can leave dry pockets near the roots while the lower mix stays wet.
-
Choose an airy root zone
Use a general houseplant mix that drains freely rather than a dense garden soil. Repot when roots crowd the container, the mix has collapsed, or water stops moving normally. Go only one pot size up so the new soil does not stay wet for too long.
-
Feed lightly and flush salts
During active growth, use a balanced houseplant fertilizer at a diluted rate and follow the product label. If leaf tips brown and a pale crust appears on the soil, flush the pot with clean water, let it drain, and pause fertilizer until new growth looks steady.
-
Prune and propagate carefully
Cut brown tips by following the natural leaf shape rather than removing healthy green tissue. Remove fully dead leaves at the base. Let plantlets develop roots before separating them, and avoid taking many offsets from a recently stressed mother plant.
Spider plant problems: what to check first
| Spider plant symptom | Check first | Avoid this mistake |
|---|---|---|
| Brown leaf tips | Review dry air, inconsistent moisture, strong sun, fertilizer concentration, and mineral buildup before trimming. | Cutting the tips repeatedly while the root zone or room conditions stay unchanged. |
| Yellow leaves | Check whether one old leaf is aging naturally or several leaves are affected. Inspect light, drainage, roots, and watering frequency. | Adding fertilizer before ruling out saturated soil or root stress. |
| Drooping or limp leaves | Compare dry and wet conditions. A thirsty plant and a waterlogged plant can both look limp, so check the soil and pot weight first. | Watering on a schedule without checking the actual root-zone moisture. |
| Soft roots or bad smell | Slide the plant out, inspect the root ball, remove only dead tissue with clean tools, and repot into fresh airy mix if needed. | Returning damaged roots to compact, wet soil or leaving the pot in standing water. |
| Few or no plantlets | Review light, pot crowding, recent stress, season, and whether the plant is receiving enough steady growth conditions. | Forcing propagation or taking offsets from a plant that is still recovering. |
Identify the spider plant before changing care
Chlorophytum comosum cultivars can have different stripe patterns, and spiderwort, dracaena, and other narrow-leaved plants may be confused with a spider plant in a close crop. Upload a whole-plant view, one mature leaf, the base of the stems, the pot, and any plantlets. Our plant identifier can suggest a likely match and a care direction, but confirm an unusual or declining plant with a reputable nursery or local horticulture source.
Not sure whether it is a spider plant?
Start with a clear photo of the full plant and one close leaf. A more reliable name makes the next light, watering, soil, and propagation decision more specific.
Identify a Houseplant